Seating
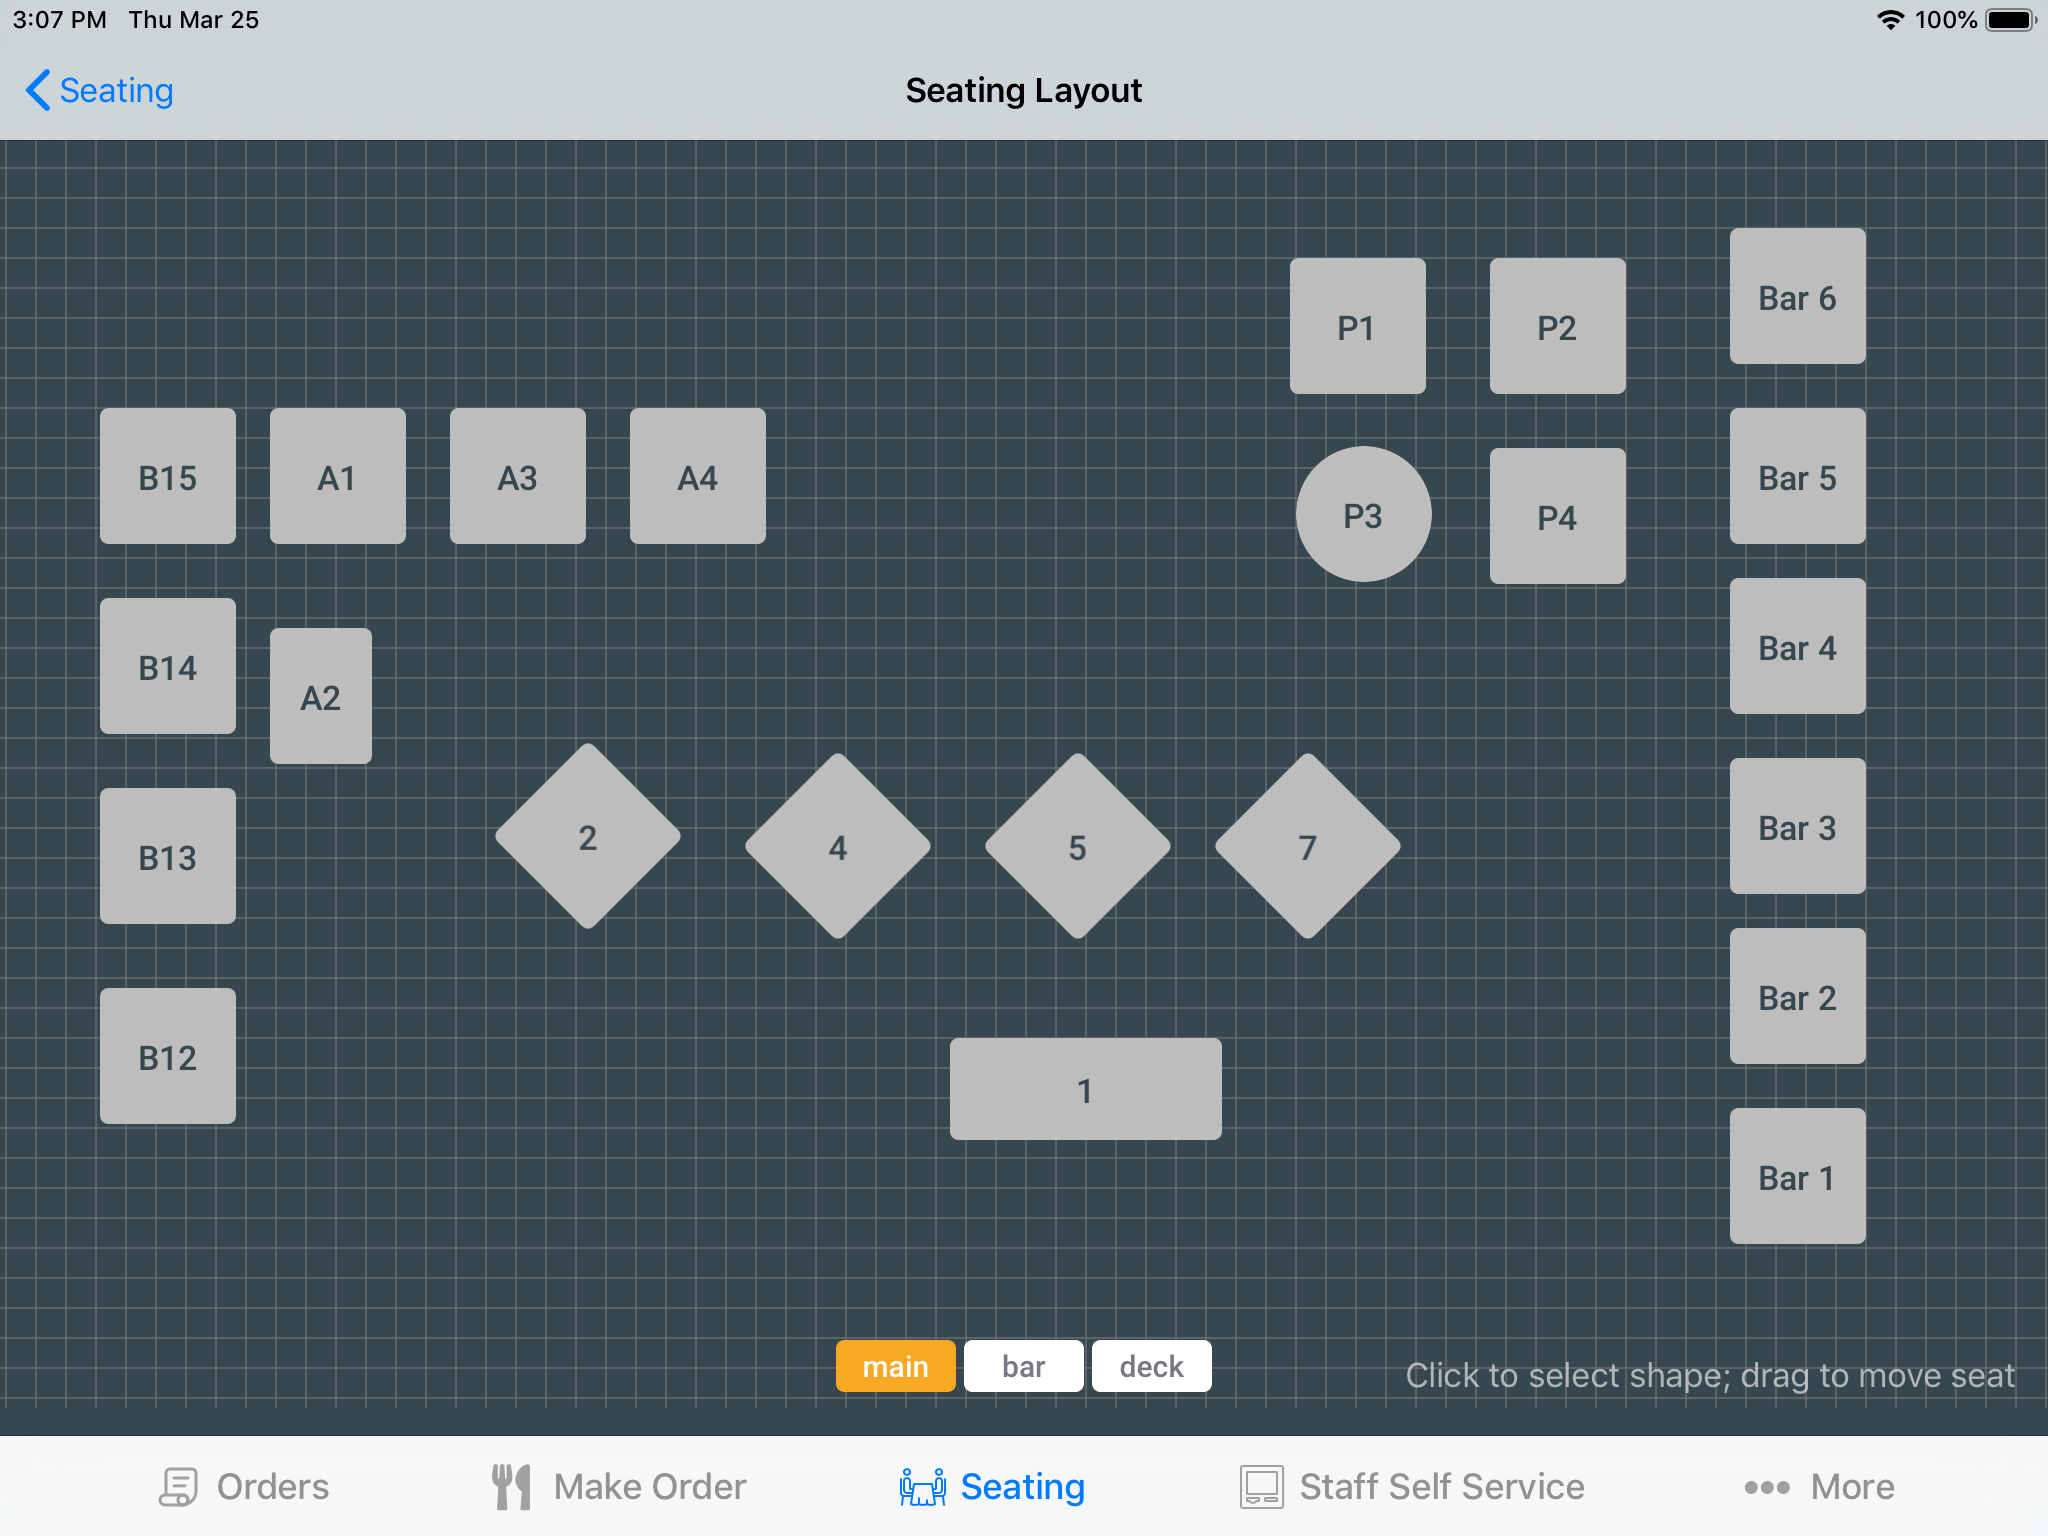
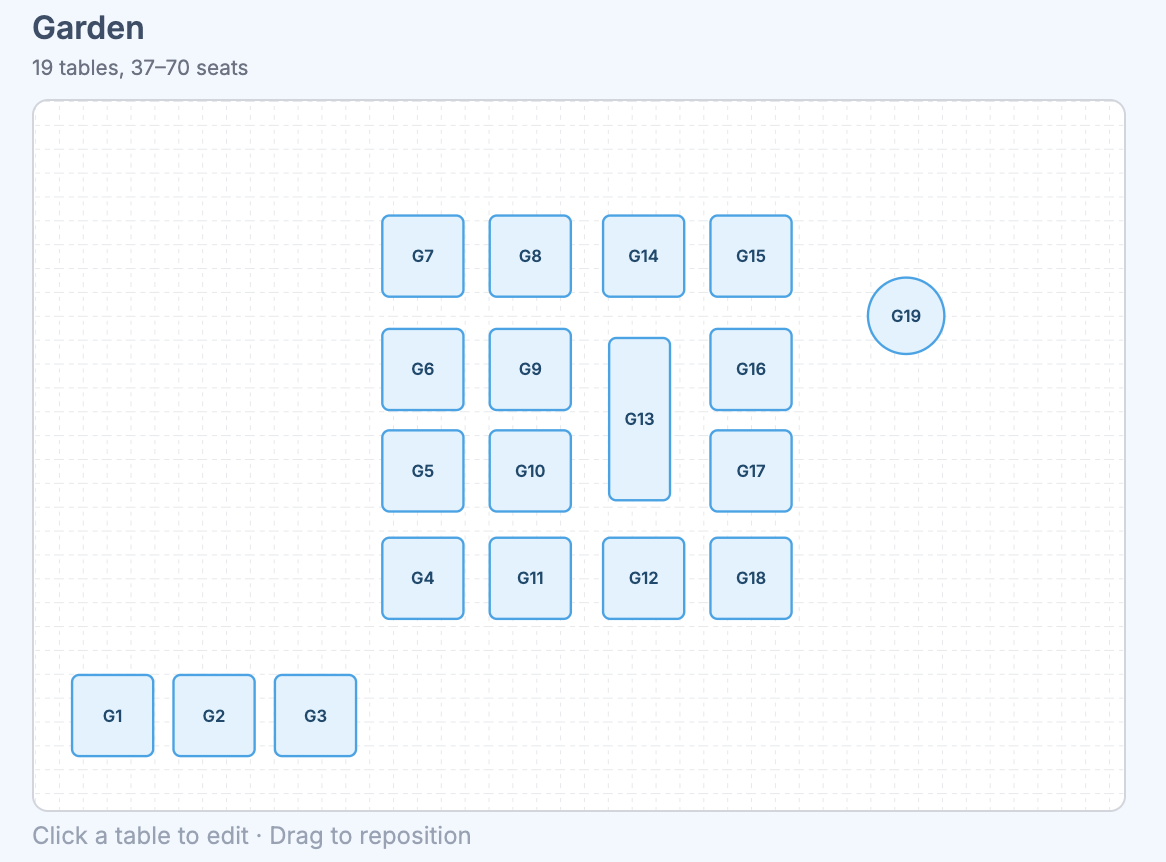
The Seating page lets you build your restaurant’s floor plan. Create rooms (dining areas), add tables with custom shapes and sizes, drag them into position, and draw the room around them — walls, entrances, restrooms, shapes, and text labels.
Navigate to Settings > Seating to get started.
Adding a table
- Click
+ Tablein the toolbar to add one table, or+ Tablesto add several at once. You can also click+ Addin a specific room’s header to add a table straight to that room. - Fill in the table details:
- ID — a display name (e.g., “A1”, “Bar 3”). Must be unique across all rooms.
- Room — select an existing room or type a new name to create one.
- Min / Max Capacity — the party size range for the table.
- Online Reservation — toggle whether the table is available for online booking.
- Shape & Size — choose from rectangular or circular presets in various sizes.
- Rotation — for rectangular tables, pick 0, 45, 90, or 135 degrees. Previews show the actual rotated shape.
- Click
Submit. The table appears on the floor plan at an automatically assigned position.
Editing a table
Click any table on the floor plan to open the edit dialog. You can change any of the fields described above. To delete a table, click the trash icon in the edit dialog and confirm.
Repositioning tables
Drag any table on the floor plan to move it. The position snaps to a grid for clean alignment. The new position is saved automatically when you release.
If the cursor leaves the floor plan during a drag, the table snaps back to its original position.
Renaming a room
Each room has its own floor plan, headed by the room name and its table count. To rename a room, click the pencil icon in the room’s header, type the new name, and click Save.
Renaming updates every table in that room and its saved floor plan at the same time, so nothing loses its place.
Drawing walls and fixtures
Beyond placing tables, you can draw the physical room around them — the walls, doors, and fixtures that help staff and guests read the floor plan at a glance.
- Click
Layoutin a room’s header to start editing that room’s floor plan. - Add elements from the toolbar that appears:
Wall— a line marking a wall or partition.Entrance— a dashed box marking a door or opening.Restroom— a box labeledWC.Text— a free label. Type the wording in the text box that appears when the label is selected.Shape— a plain rectangle for blocking out a bar, counter, or other fixture.
- Drag any element to reposition it. It snaps to the same grid as the tables. Click an element to select it.
- To remove the selected element, click the trash icon.
- Click
Save Layoutto keep your changes, orCancelto discard them.
Tables and drawn elements share the same floor plan, so what you add lines up exactly with where the tables sit.
Zoom
Use the zoom slider and +/- buttons in the toolbar to adjust the floor plan scale from 0.5x to 1x (default 0.6x). The zoom level applies to all rooms.
POS
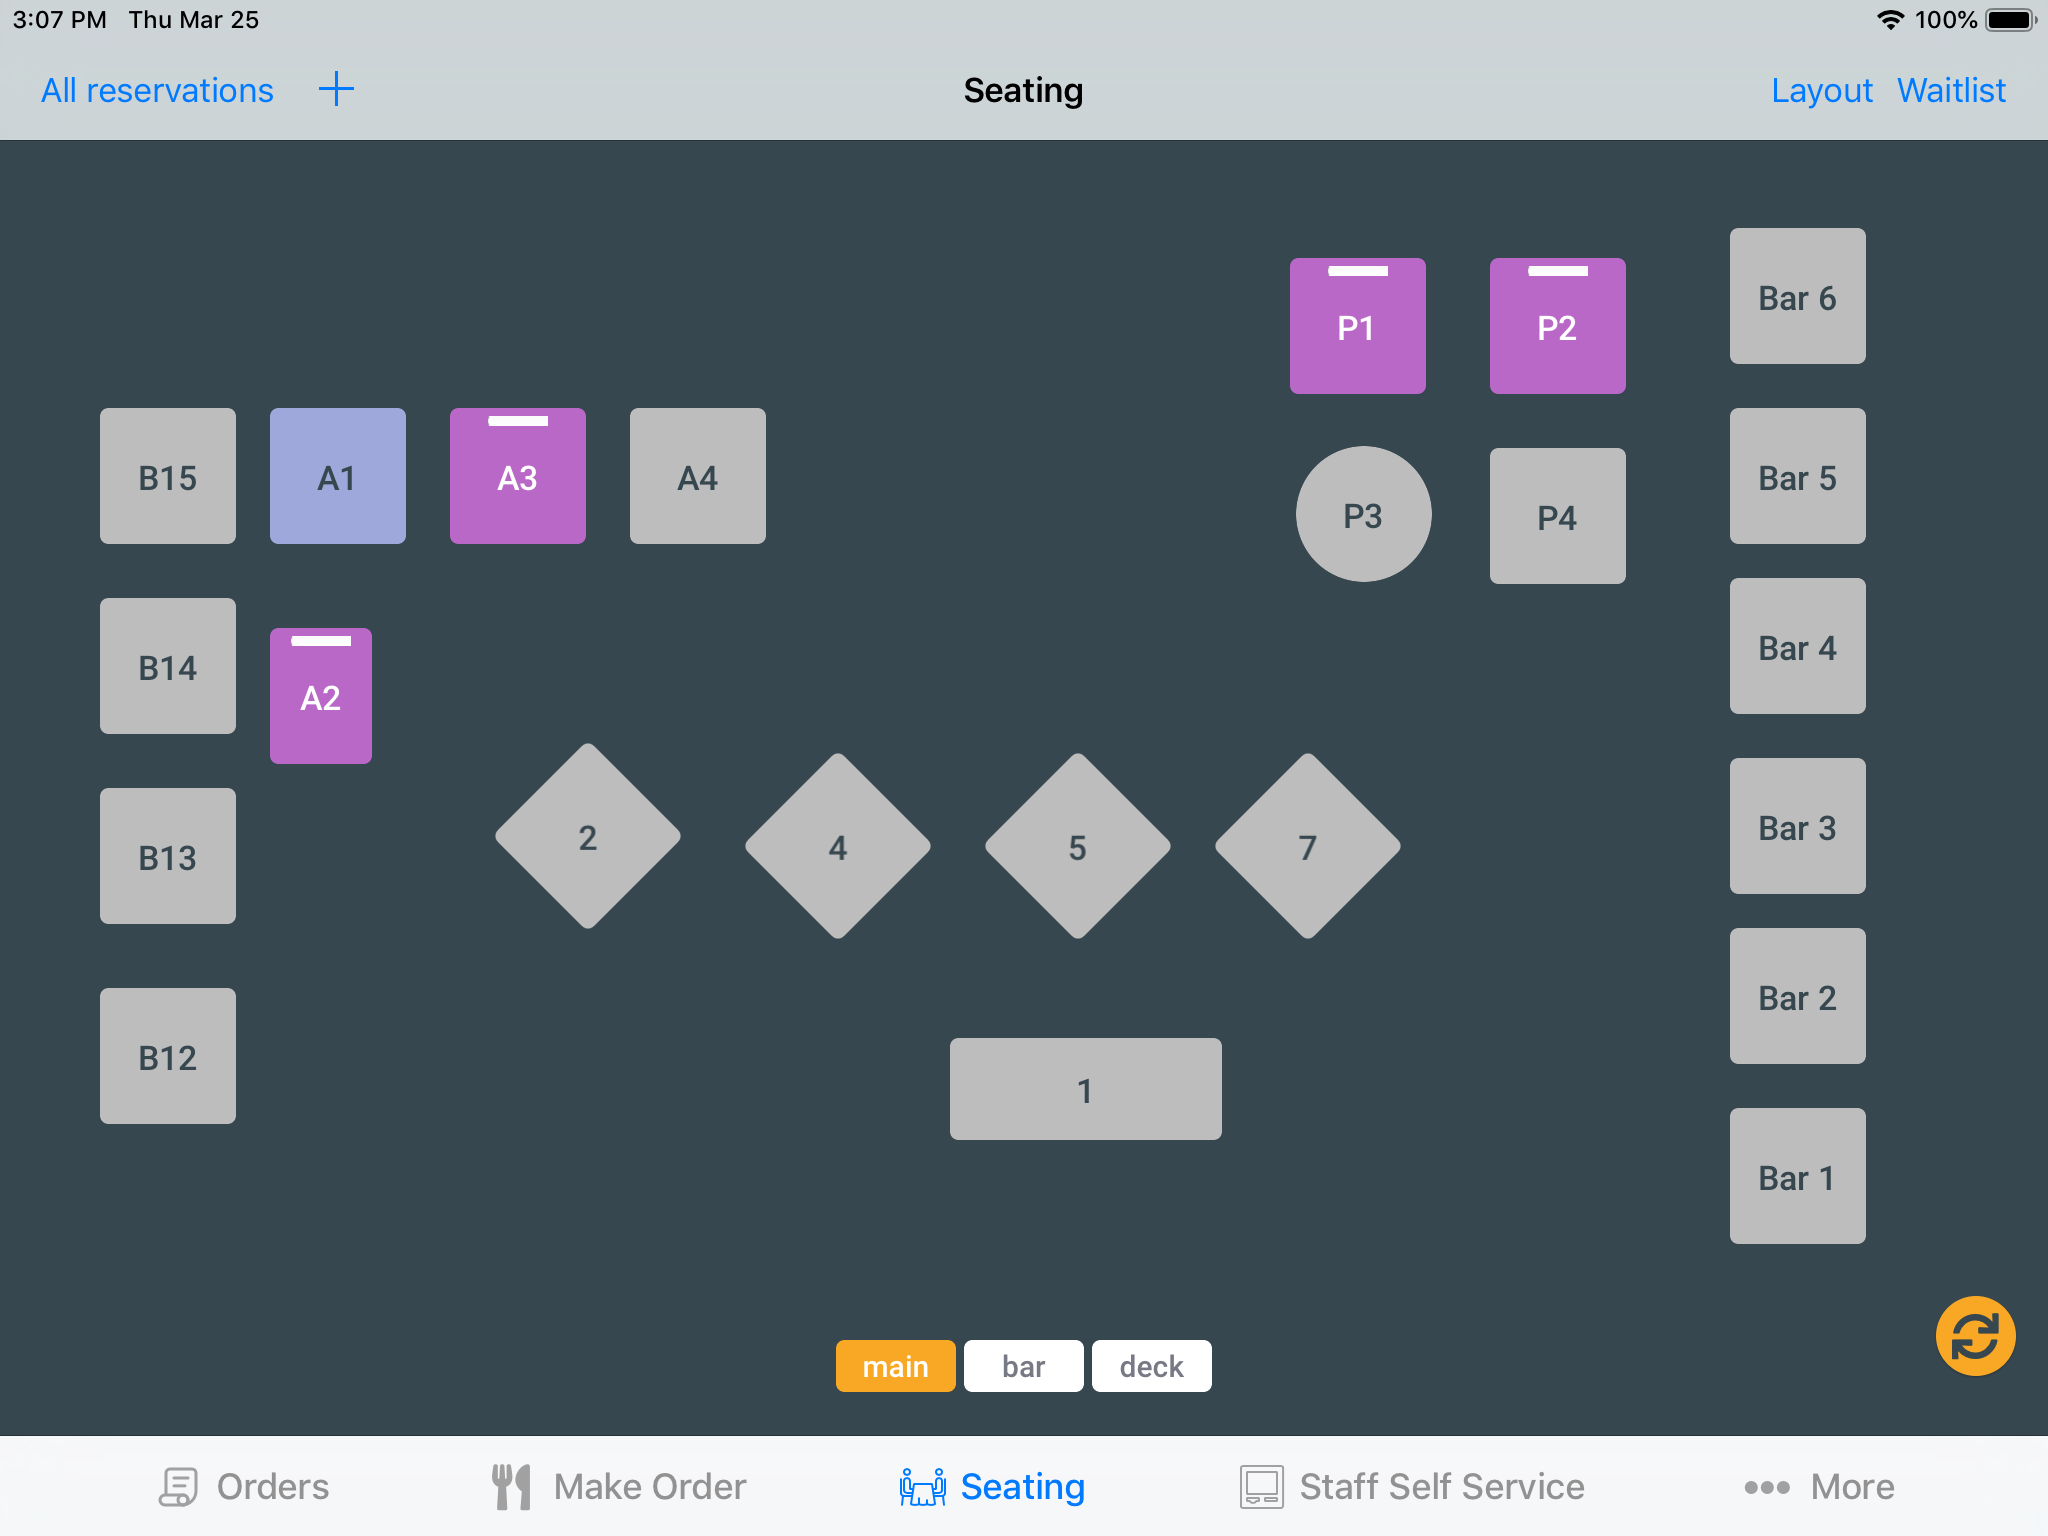
The floor plan configured here is also used in the POS for table-based ordering.