Set up your business
Set up your business yourself or with your Selflane agent. Register your business in three steps, then use AI to help build your menu.
What you need before you start
You need very little before you begin. Search by your restaurant name or street address. Selflane uses Google to fill in available business details.
You can add or update your logo, hours, contact details, and other information later.
Sign in or sign up
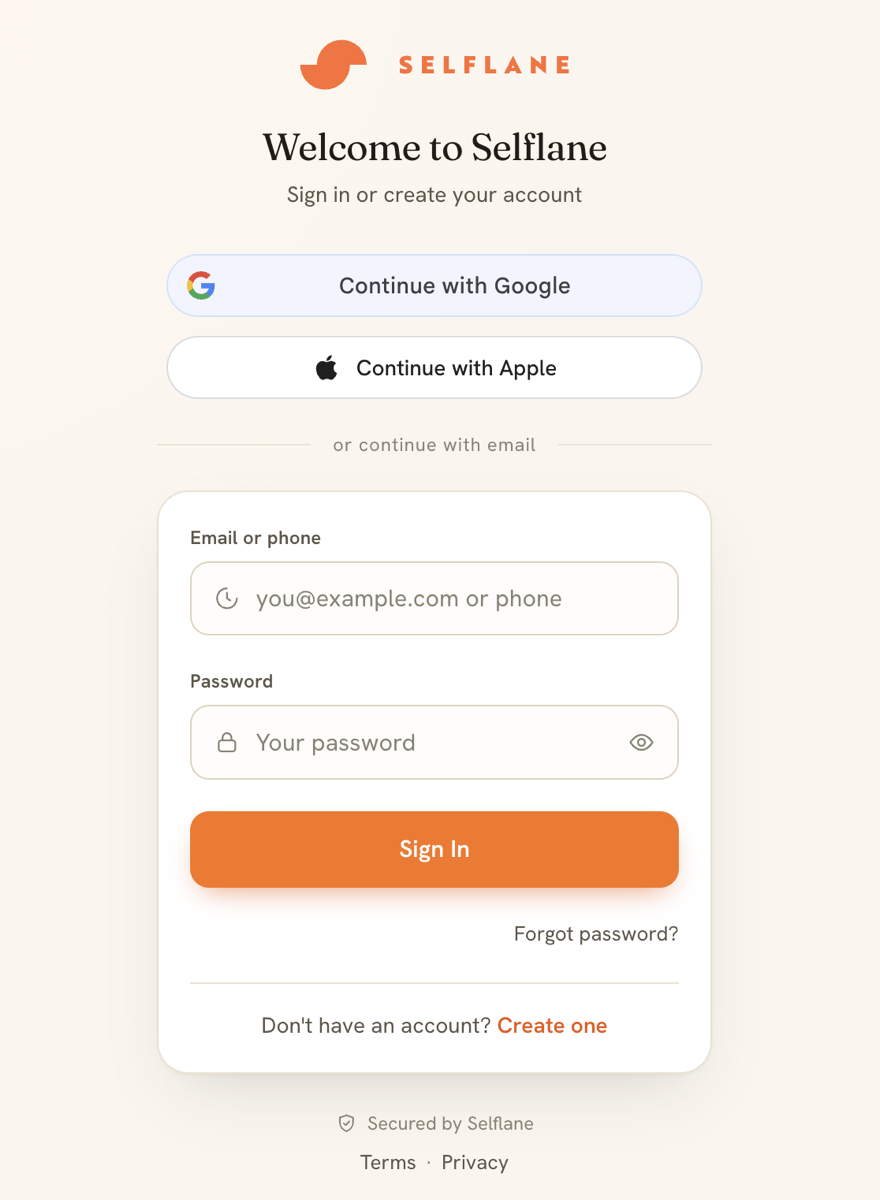
Go to Selflane Admin . Sign in or create an account with one of these options:
- Email and password
- Google sign-in
- Apple sign-in
Need help registering? Contact our support team.
Register your business
You can create your business on your own or ask your Selflane agent to help. If you create it yourself, complete these three steps.
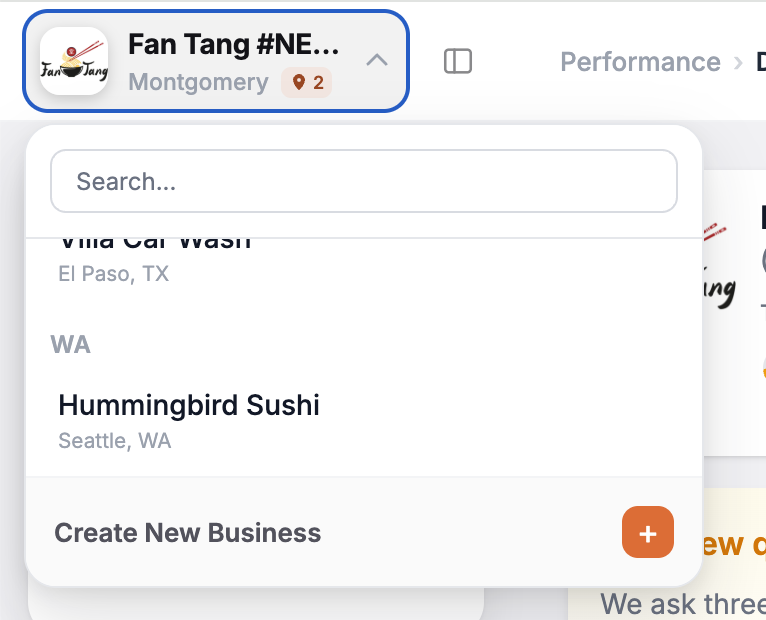
- Open the business switcher and click
Create New Business. If you have no business yet, use the create button on the no-business screen.
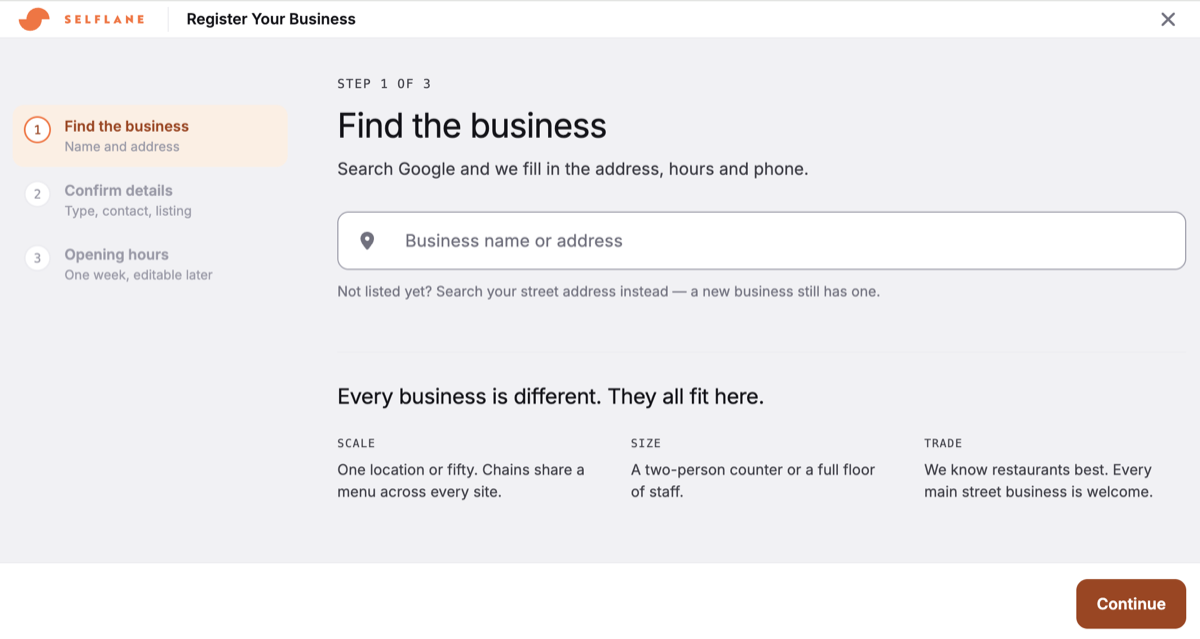
Find the business
Search Google with your business name or address. Selflane fills in the available address, hours, and phone number. You can register even if you do not have a Google listing yet. Search by your street address instead, then click Continue.
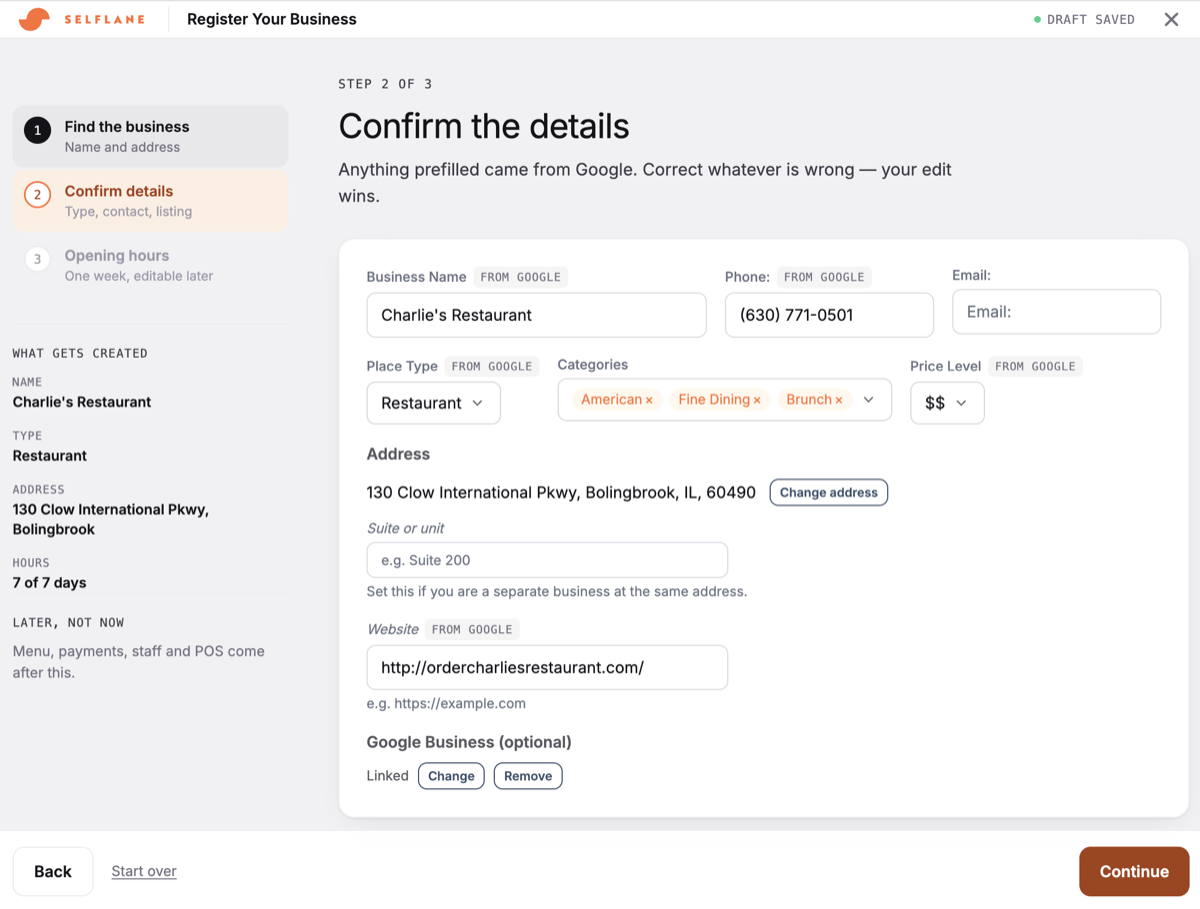
Confirm details
Review the business name, phone number, email, place type, categories, price level, address, and website. Anything prefilled came from Google. Correct anything that is wrong. Your edit wins.
Choose categories and a price level that describe your business. Add a suite or unit when you are a separate business at the same address. Google Business is optional, so you can change or remove the linked listing. Click Continue.
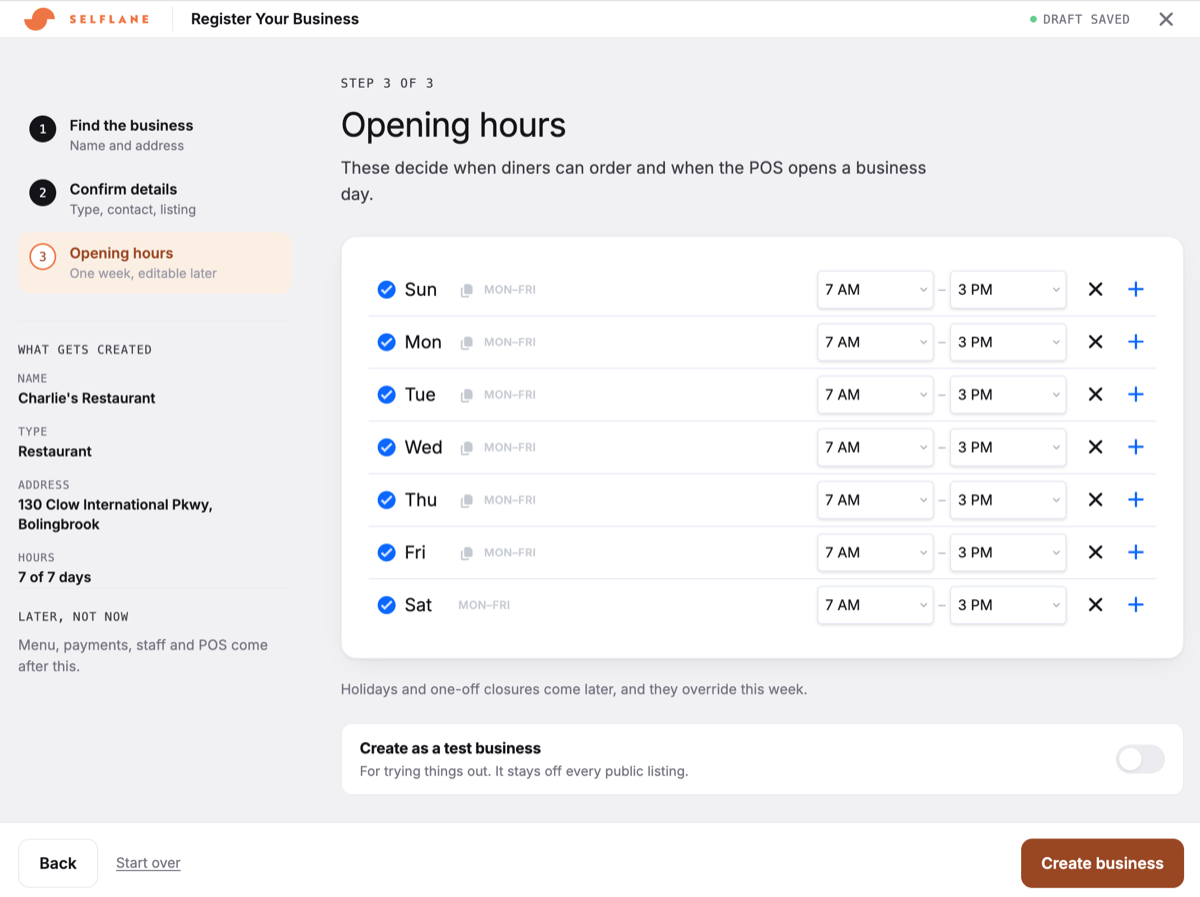
Opening hours
Set your hours for each day. These hours decide when diners can order and when the POS opens a business day. Turn off any day you are closed, and add another time range when you have split service.
Set holidays and one-off closures later. They override your regular weekly hours. Click Create business to finish registration.
You now have access to the business dashboard and settings.
Answer the setup questions
After you create the business, answer the setup questions about service style, goals, payments, sales volume, and locations.
If you close the questions early, click Answer the questions in the dashboard’s A few questions about this business prompt. See Setup questions.
Build your menu with AI
In the Back Office , open Settings → Menu → Menus. In the Menu Assistant card, click Import file to build a draft from your menu files. Review the dishes and choose what to add.
For text changes, choose Edit or Proofread in the same card’s Mode switch.
Continue with Build your menu for step-by-step instructions.
Add your logo and finish details
- Go to
Settings > Profile. - Upload a square logo (256×256 px recommended).
You can edit any of this information later. You do not need every detail before you start.
Next step
Continue with Set up your POS after your menu is ready.
For deep-dive reference on profile fields, see Business Basic Settings.