Site settings
Use Site settings in Back Office to manage the public website Selflane hosts for your business. You can update its public details, control page visibility, and change its appearance.
Choose your domain setup
Choose one path when you are ready to set up your restaurant website.
| Option | How it works | Next step |
|---|---|---|
| Register a new domain with Selflane | Choose the domain name. Selflane handles registration and manages the DNS records that connect it to your website. | Open Website Setup under Settings → Domain. |
| Connect your whole domain | Keep your current nameservers and add the DNS records Selflane emails you. | Connect a domain. |
| Connect only an ordering address | Keep your main website where it is. Point an address such as order.yourrestaurant.com to Selflane. | Connect a domain. |
Request a website and follow progress
- In the Back Office , open
Settings→Domain. - In
Website Setup, choose whether you need a new domain or have one to bring over. - Add any notes and click
Continue. Selflane follows up on your request. - Once a website project is created, check
Website Setup Progresson the same page.
The tracker shows Pending Payment, Domain Registered, Building, DNS Connected, and Published. Use Pay Invoice when payment is requested.
For a domain you already own, the tracker explains that Selflane emails the DNS records to add. Keep your current nameservers. See Connect a domain before changing DNS.
Choose a task
- Sites with several locations — keep each location’s ordering details separate.
- Connect a domain — point your whole domain or only an ordering address to your Selflane site.
- Requests — review contact, hiring, catering, and private-event inquiries submitted on your website.
- Business email — use addresses at your domain while keeping your website hosted by Selflane.
- Press — publish and maintain articles on your site’s news page.
- Social Posts — add and arrange social-media highlights for your website.
Update public site details
At the top of the page, select Go to to open the live site, Publish to push changes live, or Edit to change its public details.
In the edit window, you can update:
Tagline— a short subtitle under your site name. It can be up to 100 characters.SEO Description— the description search engines use to index your site. It must be 10 to 360 characters.PhoneandEmail— public contact information.- Your Facebook, Instagram, and TikTok profile URLs. Leave a URL blank to omit that social link.
Site Name is shown for reference and cannot be changed here.
Add announcements
Use announcements for time-sensitive messages, such as special hours, a promotion, or a closure.
- In the
Announcementsection, selectAnnouncement. - Enter a title of at least 10 characters.
- Select the
StartandEnddates. - Save the announcement, then select
Publishwhen you are ready for it to appear on the live site.
When expired announcements exist, select Clear Expired to permanently delete all announcements whose end date has passed.
Manage the gallery
The Gallery section shows the images available on your site.
- Select
Pictureto upload an image. - Drag images to change their display order.
- Select the delete button on an image to remove it.
Edit pages, theme, and layout
Choose a site theme and header layout, then choose a page to edit its content. The available pages are Home Page, Catering Page, Story Page, Events Page, Hiring Page, Private Events Page, and Contact Page.
- Turn off a page to hide it from your site. The Home page is always enabled.
- Select an enabled page to update its sections. Save changes for each section separately.
- Use a section’s visibility control to hide a section without disabling the whole page.
Choose a brand color
In the theme picker, click Change theme and choose a preset, or enter a Custom brand color and click Apply. Review the preview, then publish your site changes.
Use a hero image, carousel, or video
Open a page’s Hero section and choose its hero type:
- One image for a single background photo.
- A carousel for two or more slides. Add, replace, or remove images in the preview.
- A video for a muted, looping background. Upload MP4, WebM, or MOV, up to two minutes and 75 MB.
Upload the landscape Desktop video first. Add a portrait Mobile video for phones if needed. If you leave it blank, phones use the desktop video.
Use the Desktop and Phone previews to check cropping. A poster image appears while the video loads. Hero changes autosave; publish when you are ready to show them.
Import reviews from Google
- Open the page’s
Reviewsection. - Click
Import from Google. - Select up to 20 reviews and click
Import. - Review the copied names, photos, ratings, and text. Edit, reorder, or remove them as needed, then publish.
Link your Google Place listing in Settings → Profile → Address first. This picker uses reviews collected from that listing. Google supplies up to five recent reviews per sync, twice a week. It is not your full Google review history.
Set up private-event inquiries
Enable Private Events Page, then open Inquiry Settings to set event types, the start-time window, minimum group size, and required fields. Name and email are always required.
In Private Event Form, edit the Thank-you message guests see after sending an inquiry. Review submissions in Requests.
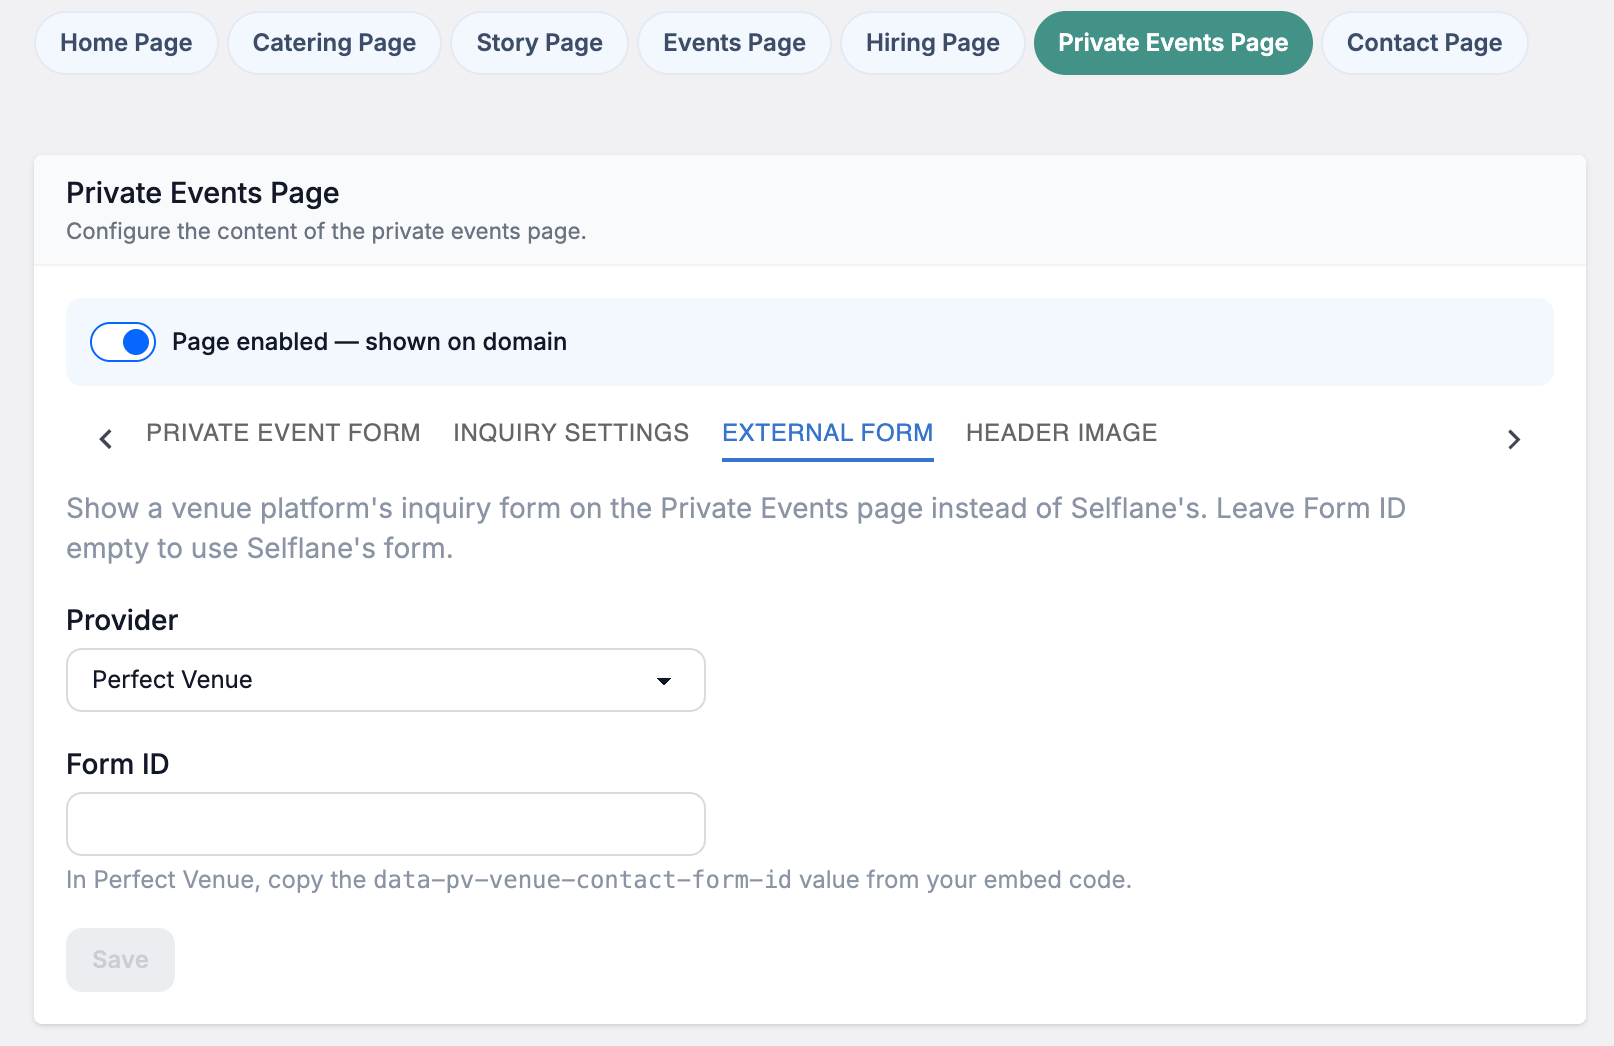
To use Perfect Venue, open External Form and choose Perfect Venue under Provider. Copy the data-pv-venue-contact-form-id value from your Perfect Venue embed code into Form ID, then click Save.
The Perfect Venue form replaces the built-in inquiry form; its title and subtitle still apply. Leave Form ID empty to use Selflane’s form.
Use advanced controls
Open Advanced only when you need to change sitewide behavior.
Site modeswitches between a full website and a storefront that focuses on ordering, reservations, and gift cards. In storefront mode, you can optionally set where the logo and home link point.Online orderingcontrols whether menu links and order buttons appear across the site. It is always enabled in storefront mode.- When online ordering is off, you can choose the static menu’s theme and control what it displays.
Set tracking IDs
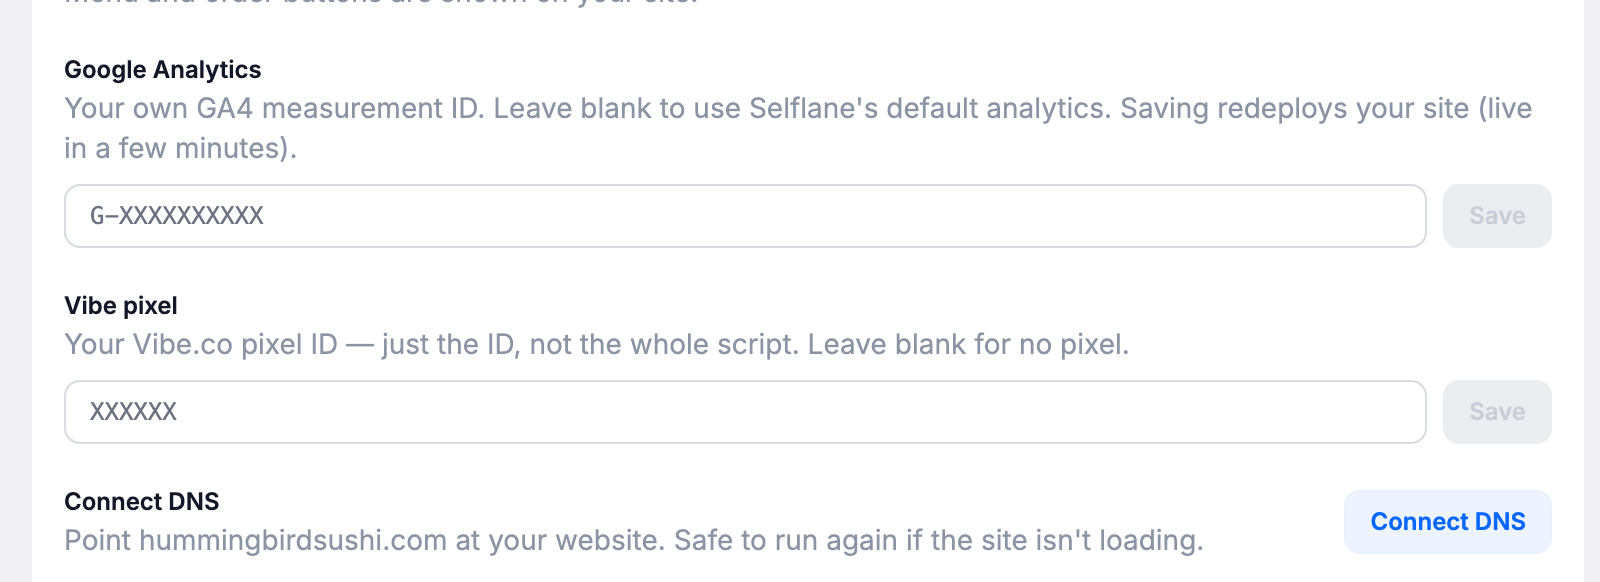
In Advanced, enter your own GA4 measurement ID under Google Analytics, or enter your Vibe.co pixel ID under Vibe pixel. Enter the ID, not a script.
Review the confirmation before saving. Changing an ID changes where your site’s tracking data goes. Saving Google Analytics starts a site update that takes a few minutes. Saving a Vibe pixel publishes the change.
A blank Google Analytics ID uses Selflane’s default analytics. A blank Vibe pixel ID removes the pixel.
Connect DNS and verify your site
Owners see Connect DNS and Site verification in Advanced when Selflane hosts the domain’s DNS.
Use Connect DNS to point the domain at its Selflane website. For site verification, paste the full record value supplied for Google Search Console or Apple Pay on the web. Add only the record you were given.
Related links
- Hours — update your business hours before announcing a schedule change.
- Basic Settings — configure how customers order online.
- Marketing Events — manage ticketed events for your business.