Set up Selflane Hub
Prepare a self-service screen so guests can place orders and pay without staff entering each order. Check Kiosk hardware and your business’s Kiosk access before you start.
Install and sign in
- Install Selflane Hub for iOS or Android .
- Open the app and tap
Get Started. - Complete the hosted sign-in screen with your Selflane account.
- Choose the business this kiosk will serve. Your account needs POS access to that business.
Confirm the selected location before connecting hardware. To change it later, open Settings → Business → Switch business.
Connect the card reader
- Power on your Bluetooth Stripe reader and keep it near the kiosk.
- Open
Settings→Payments. - Tap
Discover a reader, choose Stripe, and confirm the correctTerminal Location. - Discover nearby readers, select yours, and connect.
- Check that the reader shows
Connected.
Allow the permissions requested to discover nearby readers. If no Terminal location is available, ask an owner to create one.
Connect the receipt printer
- Connect your EPSON or Star printer to the same network as the kiosk.
- Open
Settings→Printersand tapSet up printer. - Select the printer and tap
Connect. - Tap
Print test receiptto check the connection and paper.
The kiosk prints the customer receipt. Configure kitchen printing separately on your POS.
Switch to kiosk
- Return to
Homeand tapSwitch to kiosk. - Review the confirmation and tap
Switch to kioskagain. - Check that the welcome screen shows the correct business.
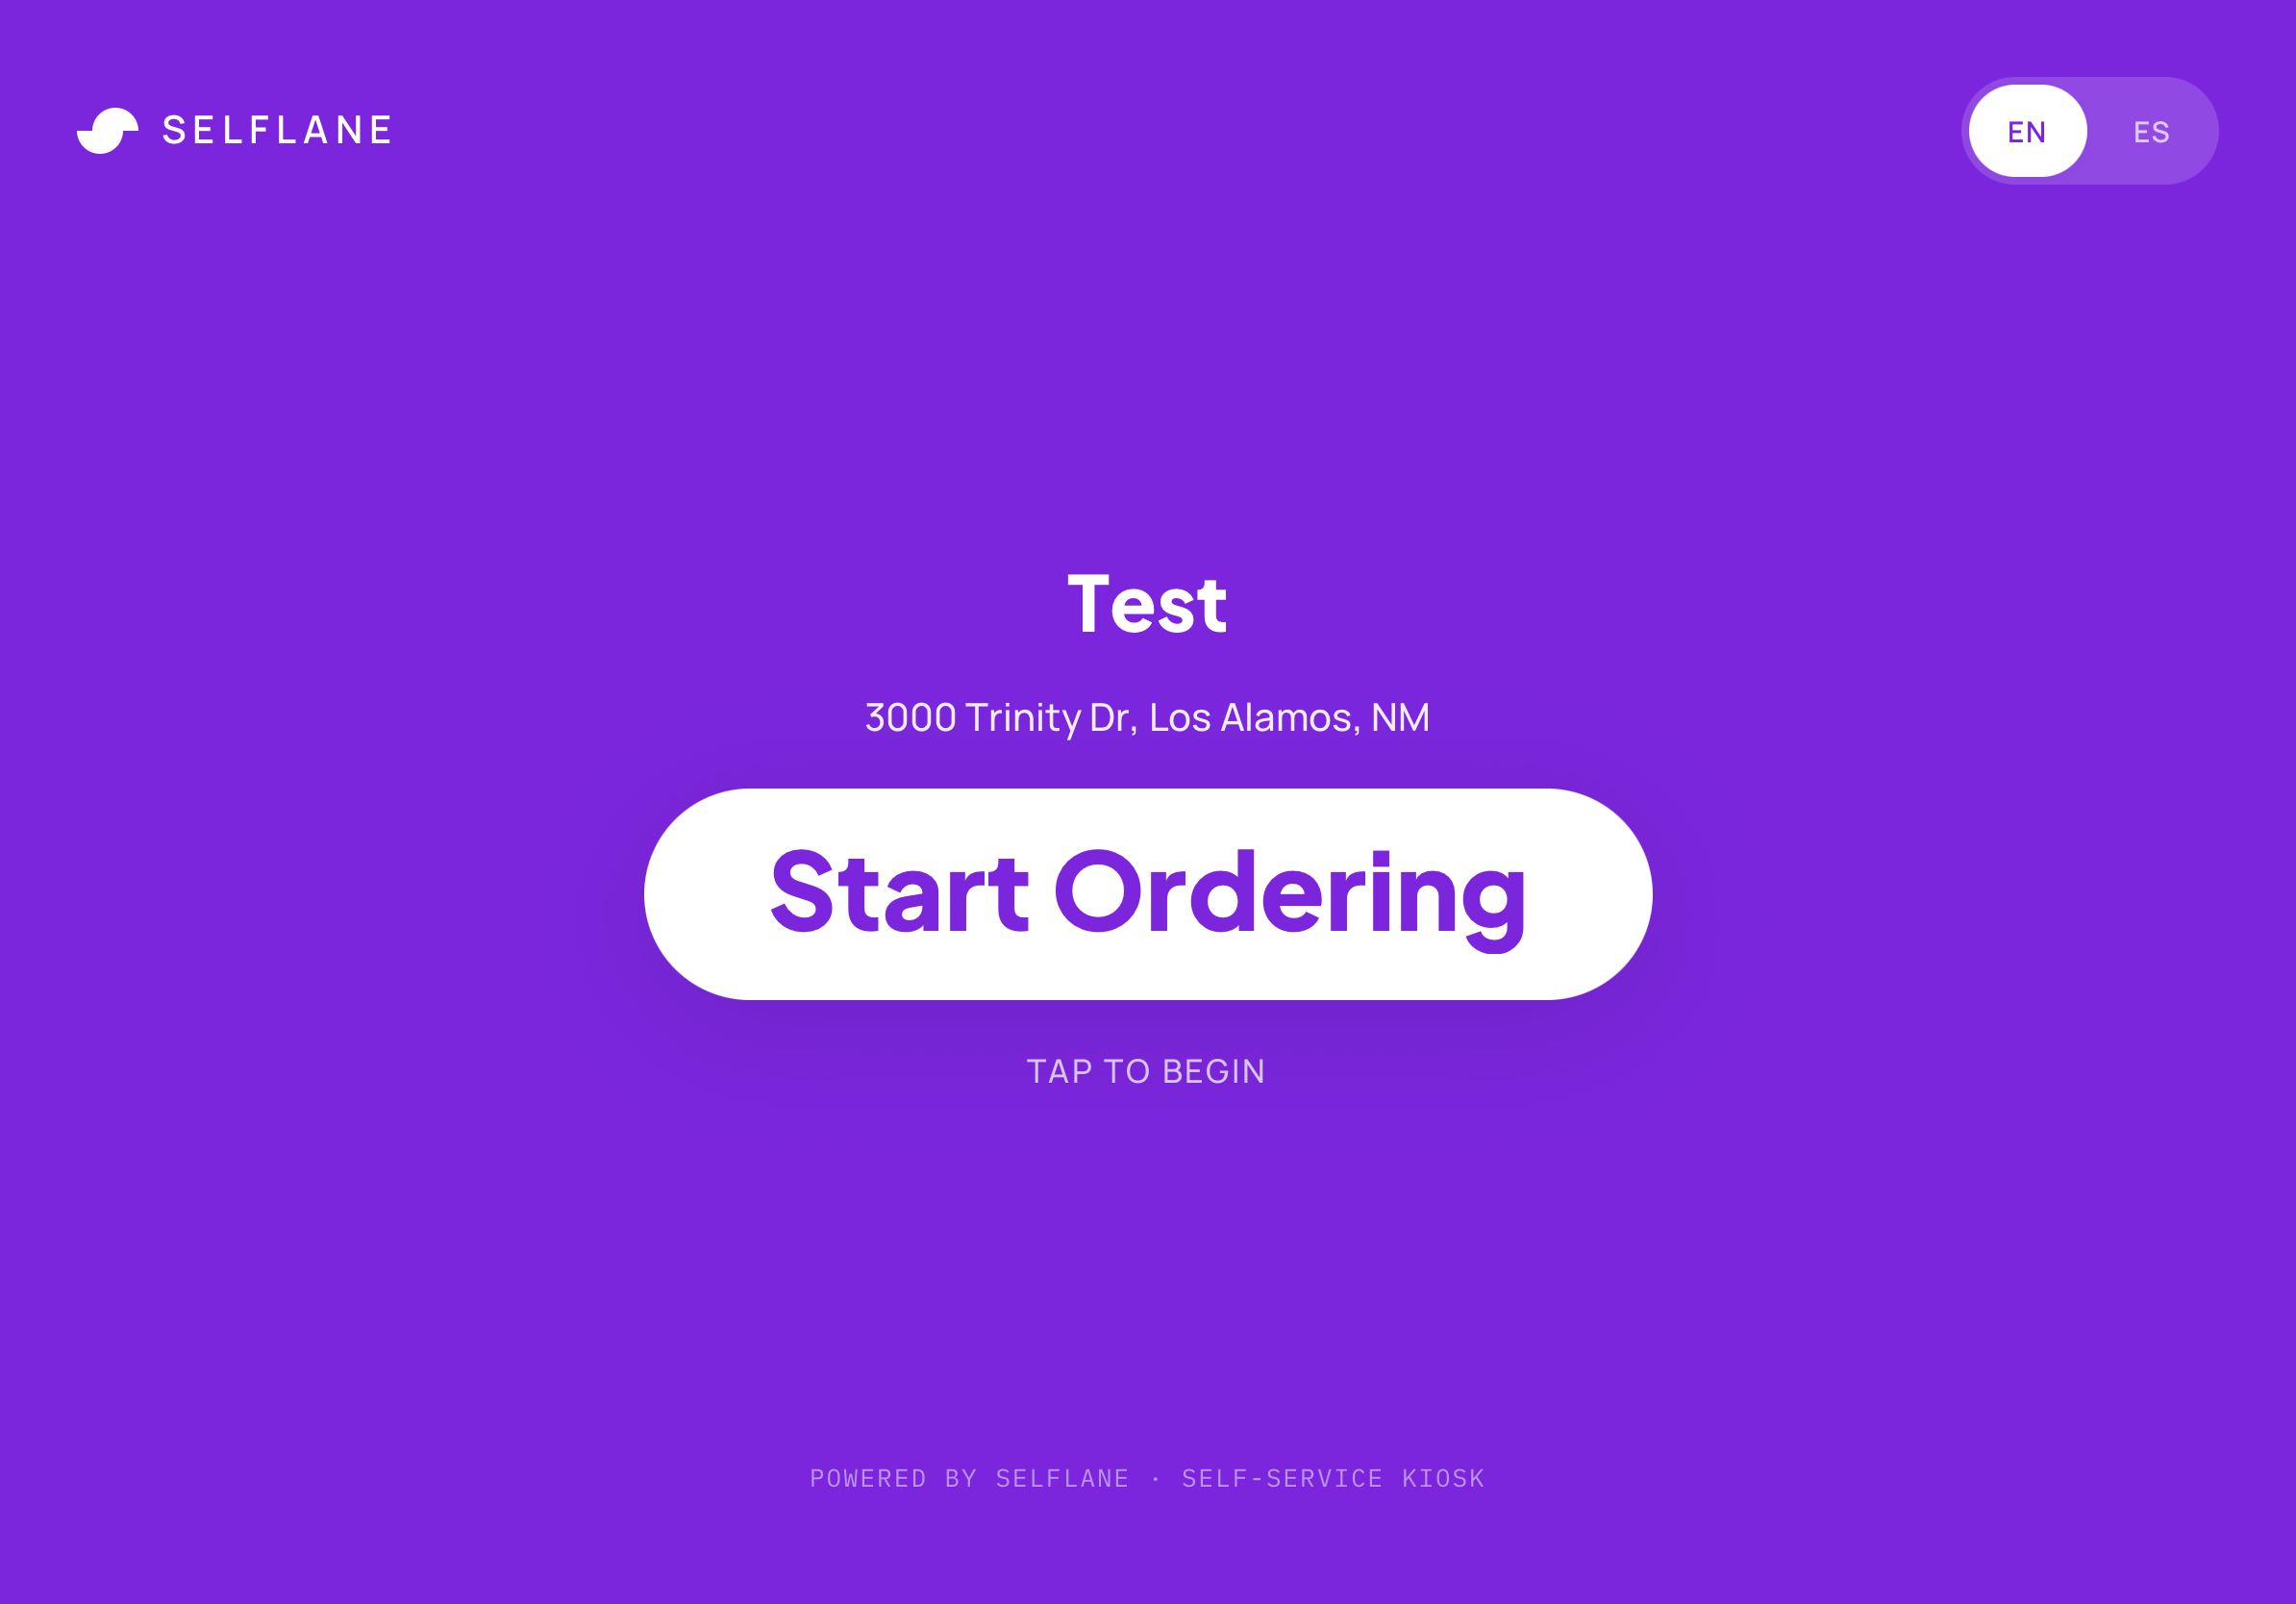
On an unattended iPad or iPhone, enable Guided Access in the device’s Settings → Accessibility, then start a Guided Access session in Selflane Hub. Switching to kiosk alone does not lock the device.
To return to the operator screen, tap the footer line at the bottom of the kiosk screen five times quickly. End Guided Access first if it prevents that action.
Check the guest screens
- Tap
Start Orderingon the welcome screen. - Choose
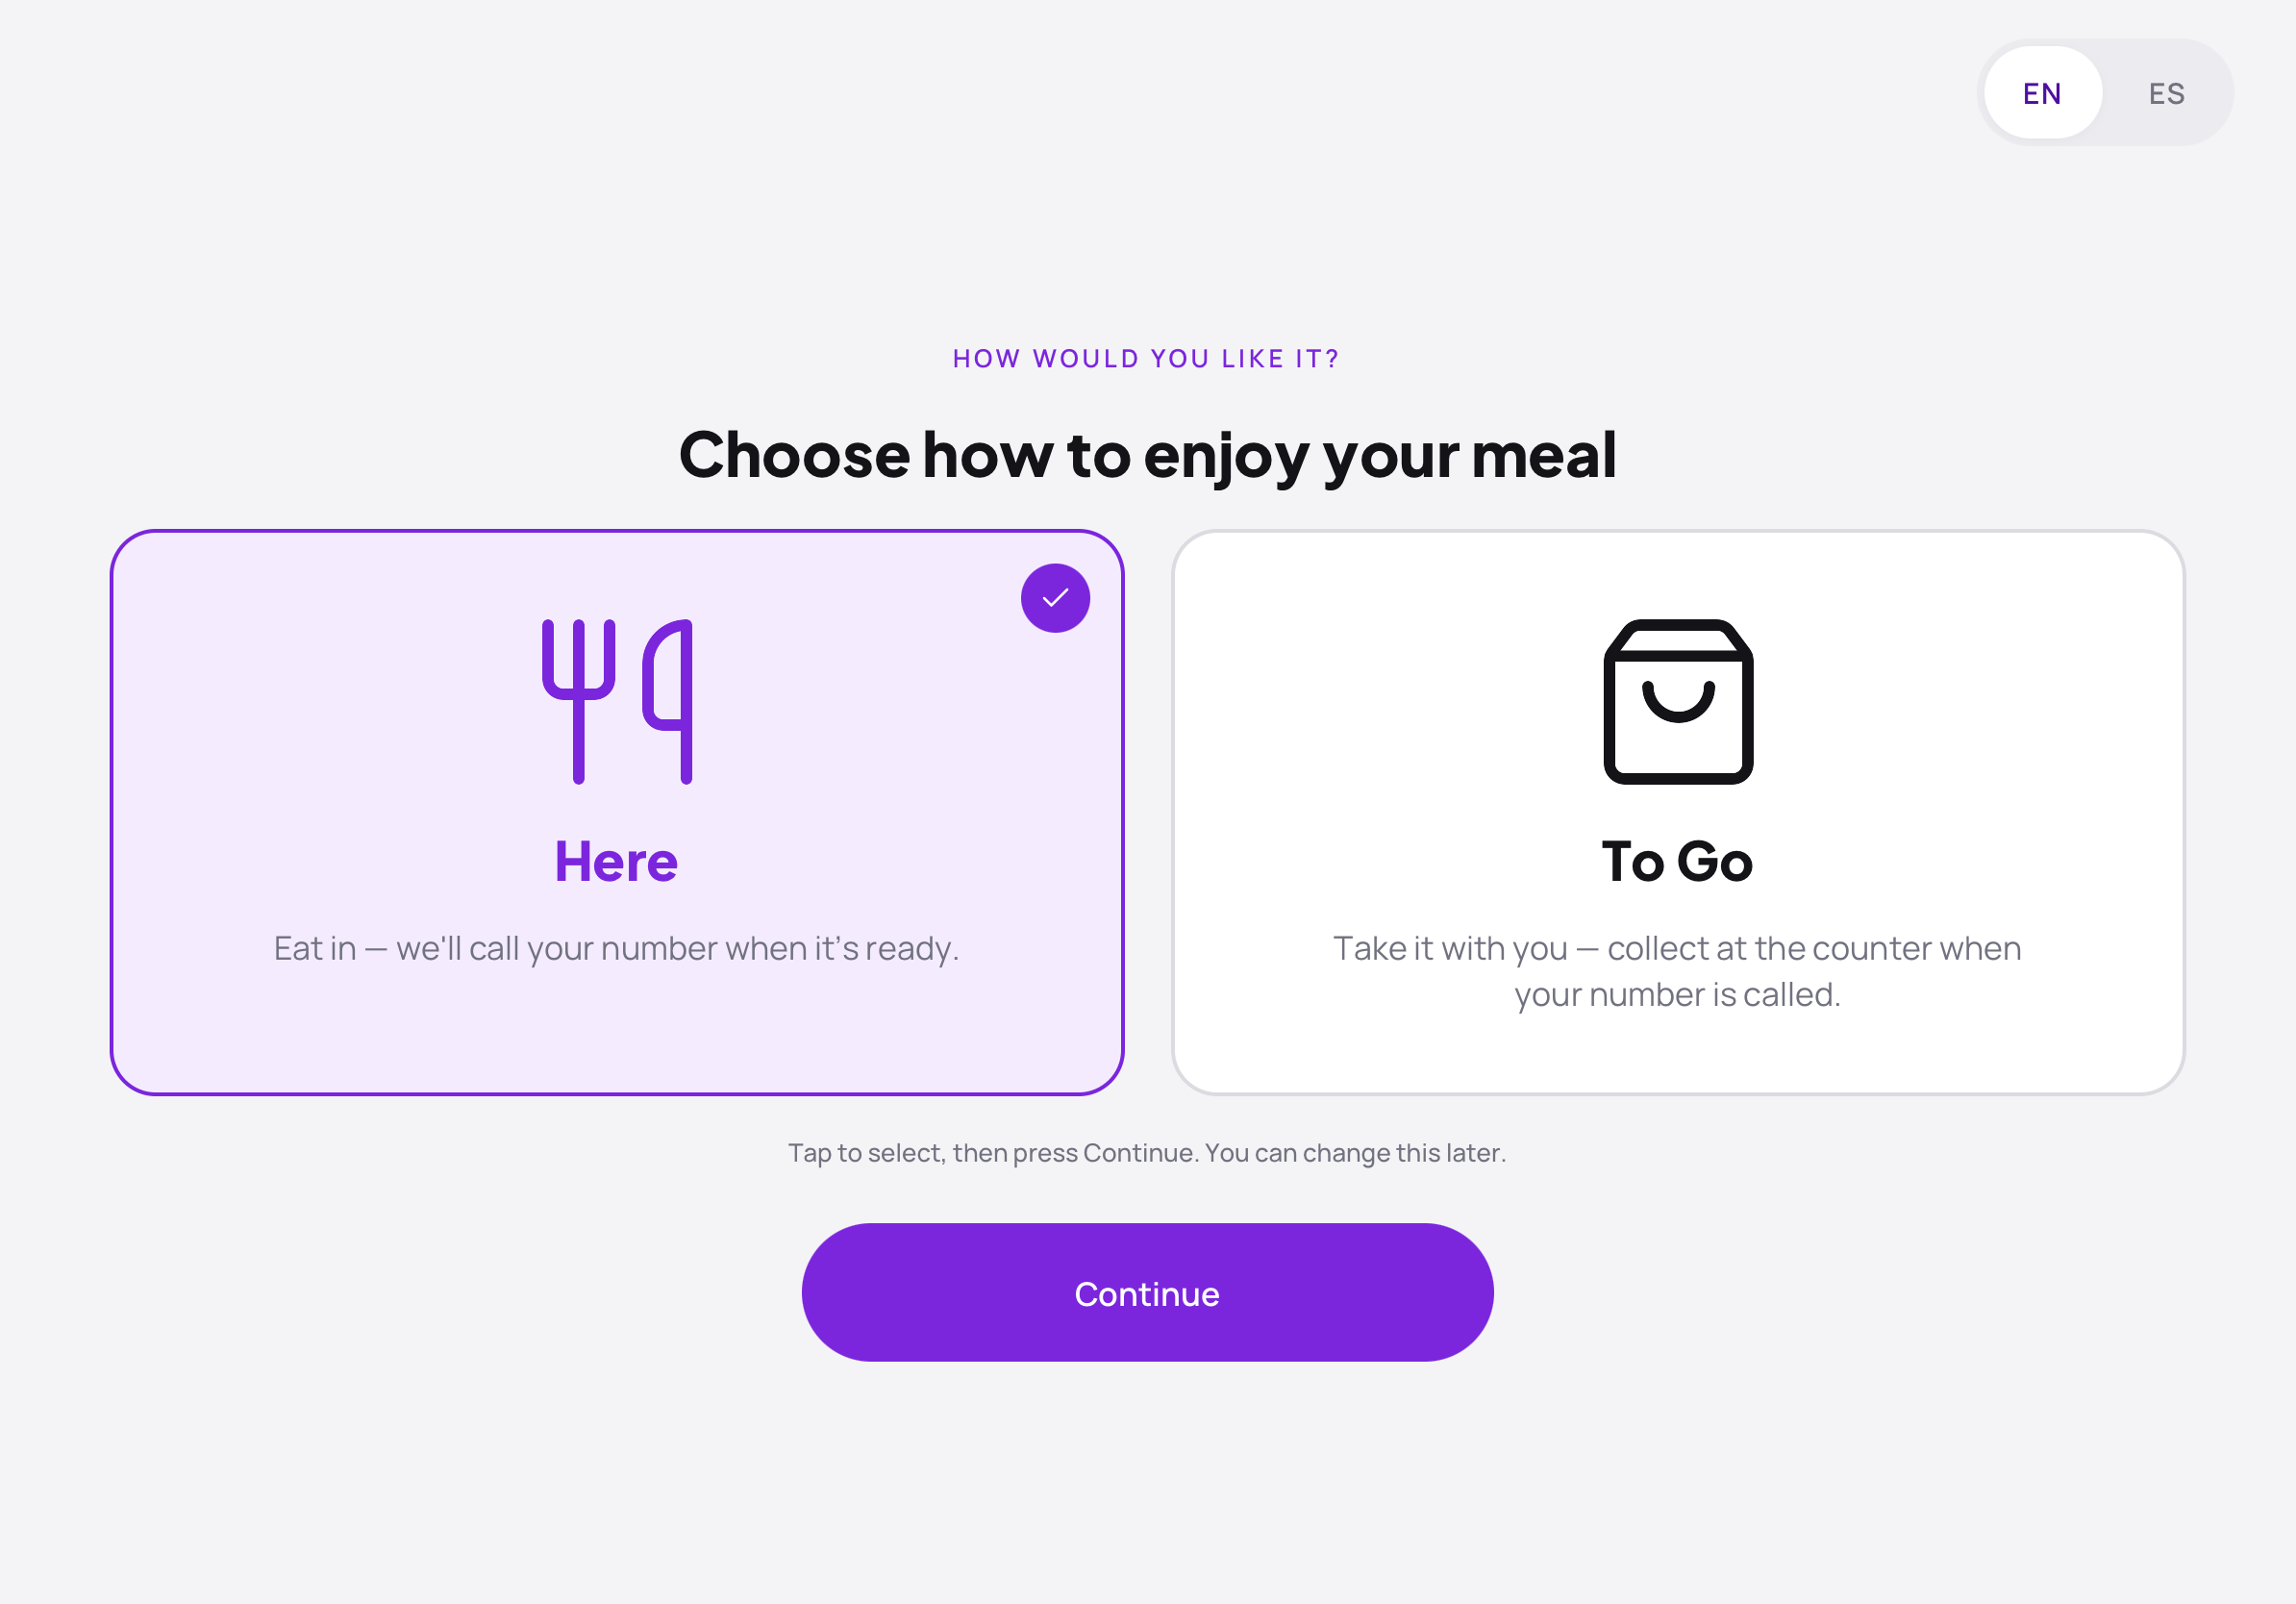
HereorTo Go, then tapContinue. - Check the menu tabs, categories, prices, and
Customizeoptions before leaving the kiosk ready for guests.
What if setup fails?
- No businesses appear. Ask your owner or manager to grant your account POS access, then sign in again.
- Kiosk is not enabled. An owner can review Kiosk access in
Plan & Billing→Manage Plan→Add-Onsin the Back Office. - No reader appears. Check power, Bluetooth permissions, distance, and whether the reader is connected to another device.
- The receipt does not print. Check paper, power, and that the kiosk and printer are on the same network. Run the test print again.